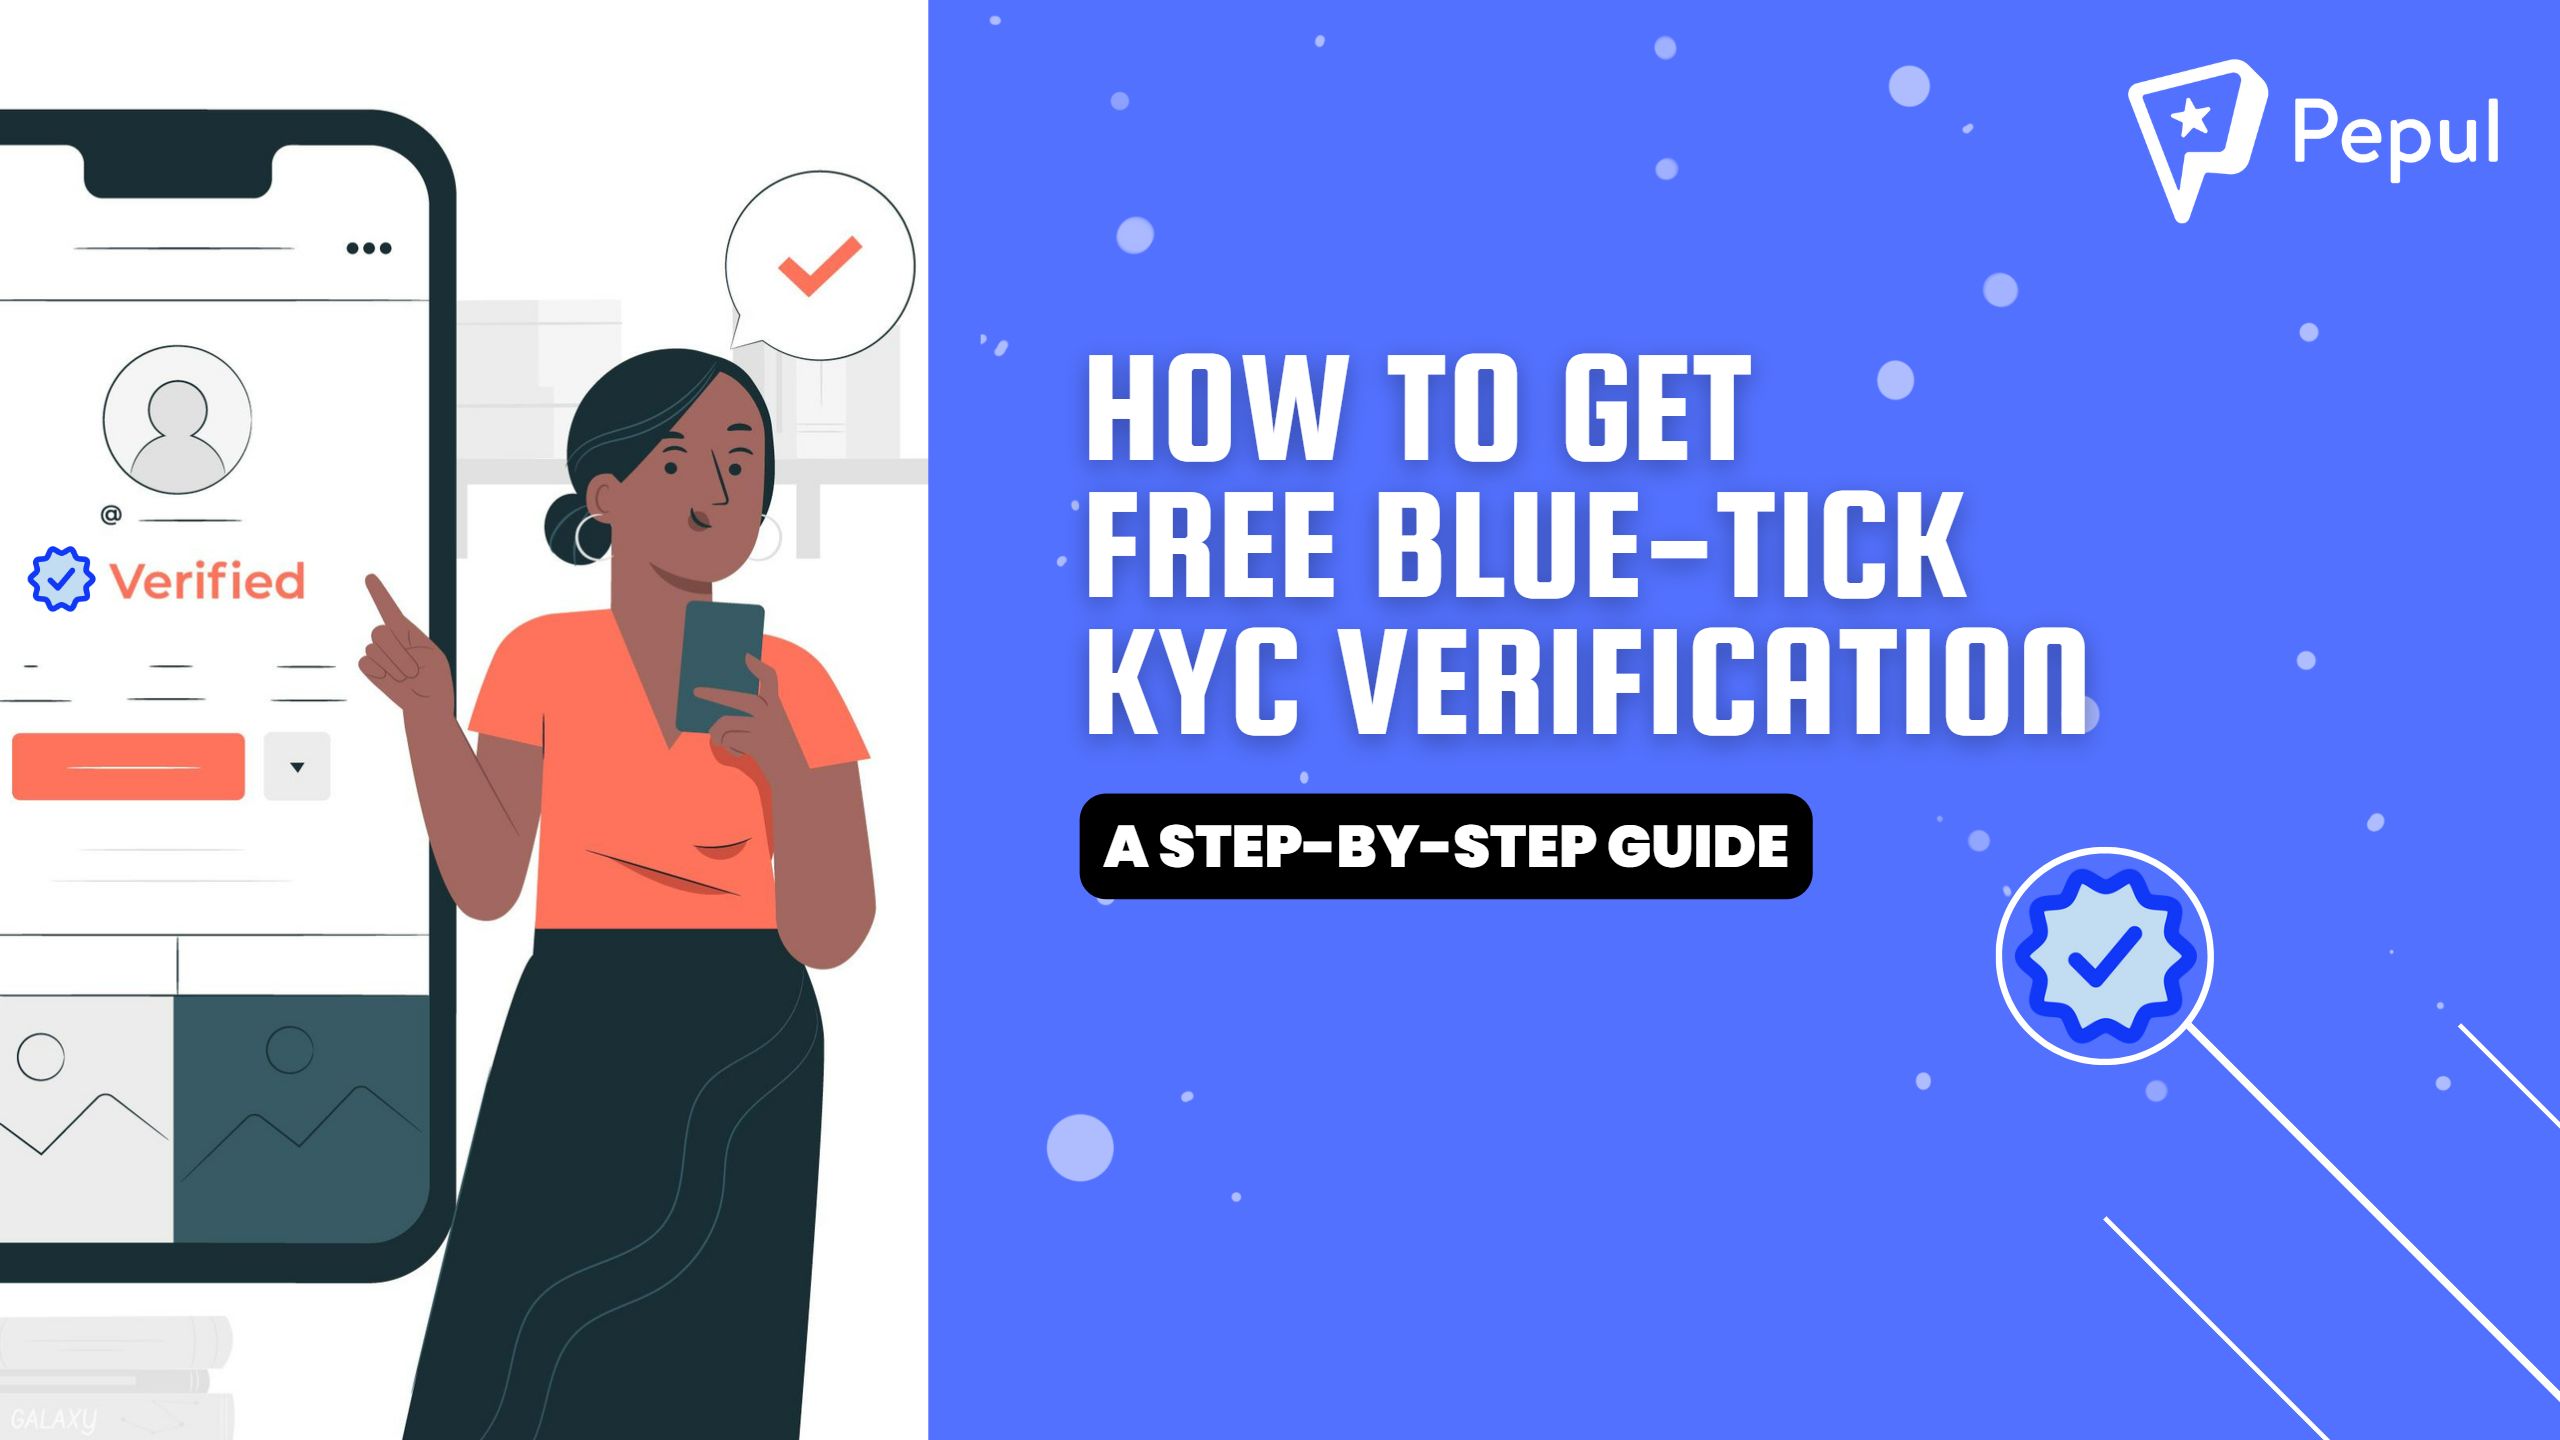
With the intention to provide a safer social media experience and a secure user experience to everyone, a streamlined KYC Verification process is implemented in the Pepul app. This free blue-tick badge keeps the users’ experience safe and sound. In this blog, you can find an easy-to-follow step-by-step guide to get a free blue-tick badge for your profile on Pepul.
Free Blue-tick Verification
Blue-tick verification badge on the Pepul app is provided for free in the Pepul app in order to provide an equal opportunity for all users to keep their accounts real and verified. This is to keep anonymous users away from the platform and create a user-friendly experience for all.
Step-By-Step Guide: How to Get a Free Blue-Tick badge in the Pepul app?
Step 1: Open the Pepul app
After downloading the Pepul app from the store, open the Pepul app on your device. The app is available on both iOS and Android.
Step 2: Tap your profile picture
Once you open the app on your device, you will find your profile picture in the top right corner of your screen. Tap it!
Step 3: Tap the “Get verified badge” button
Once you land on your profile page, you can use 2 methods given below to start verifying your profile:
- Tap the 3 lines on the top right corner of your screen. Here, click on the “Verify your profile” button.
- Or, you can also tap on the “Get Verified Badge” button that is displayed on your profile page itself.
Also Read: Wondering how to post in the Pepul app? Check out this step-by-step guide to creating and posting stories on Pepul.
Step 4: Enter your KYC details
Now, you can enter your Name as per your Aadhaar, and Aadhaar number. Tap “Submit.”
Step 5: Enter the OTP
Then, you will get an OTP in the mobile number associated with your Aadhaar which is to be entered in the given space.
Step 6: Tap “Submit”
On verifying the OTP by tapping on the “Submit” button, your profile will be verified.
Congratulations! Your Pepul Profile is now KYC verified. You are now rewarded with the free blue tick for your account in the Pepul app.
So, what are you waiting for? Get your free blue tick NOW!
Download Pepul Android: https://play.google.com/store/apps/details?id=com.pepul.socialnetworking
Download Pepul iOS: https://apps.apple.com/in/app/pepul-social-network-app/id1571517301
3 responses to “A Step-By-Step Guide: How to Get a Free Blue-Tick KYC Verification?”
[…] Instagram lets users purchase its verified blue checkmark sticker at a certain cost, Pepul offers a free blue-tick badge for all emphasising that their users can feel safe and supported as they share their thoughts, […]
[…] Learn More: Here is a step-by-step guide to getting a free blue tick verification badge on Pepul! […]
[…] Your account should be KYC verified for you to withdraw your quiz amount. Here is how you can get blue tick verification for your […]